Screenshots are an easy and convenient way to capture what you see on your screen. Whether you're troubleshooting a problem or want to share something you've found online, taking a screenshot on Windows is a simple task. In this blog post, we'll walk you through the different methods of taking a screenshot on Windows, as well as some popular keywords that you can use to search for more information on this topic.
Method 1:
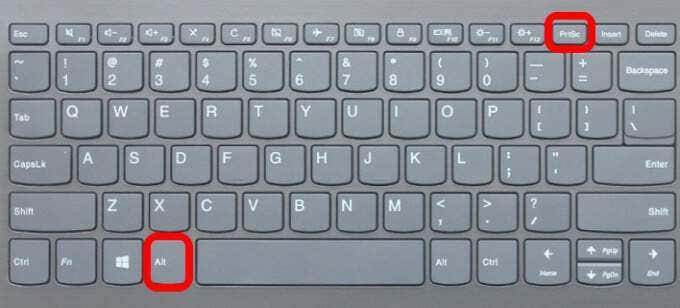
Using the Print Screen (PrtScn) button
The most basic way to take a screenshot on Windows is by using the Print Screen (PrtScn) button on your keyboard. To take a screenshot of your entire screen, simply press the PrtScn button. The image will be saved to your clipboard, which you can then paste into an image editing program like Paint or Photoshop.
Steps:
Step 1: Locate the Print Screen (PrtScn) button on your keyboard. It is usually located on the top row of your keyboard, near the function keys.
Step 2: Press the PrtScn button to take a screenshot of your entire screen. The image will be saved to your clipboard.
Step 3: Open an image editing program like Paint or Photoshop and paste the screenshot into the program by pressing Ctrl + V. Step 4: Save the image by clicking on "File" and then "Save As".
Method 2:
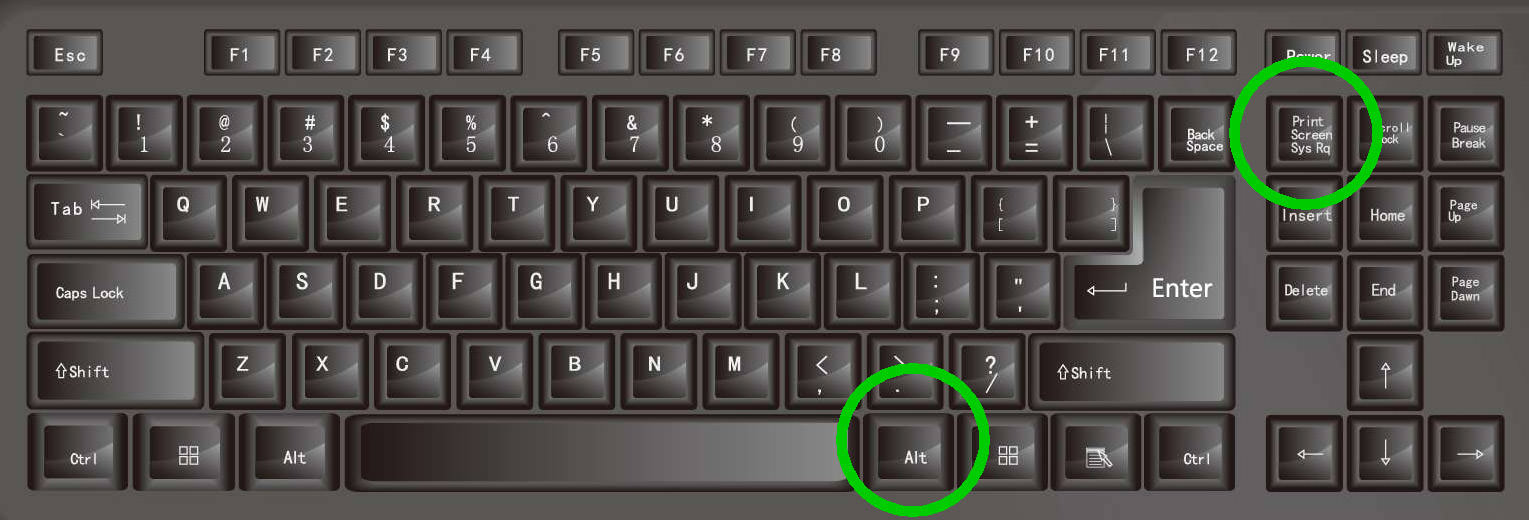
Using the Windows + Print Screen (PrtScn) shortcut
Another way to take a screenshot on Windows is by using the Windows + Print Screen (PrtScn) shortcut. This method will take a screenshot of your entire screen and save it as an image file, without the need to paste it into an image editing program. To use this method, press the Windows key and the PrtScn button at the same time. The image will be saved to the "Screenshots" folder within your "Pictures" folder.
Steps:
Method 3:
Using the Snipping Tool The Snipping
Tool is a built-in program on Windows that allows you to take screenshots of specific areas of your screen. To use the Snipping Tool, search for it in the Start menu or the Search bar and open it. Once the program is open, you can select the type of screenshot you want to take (e.g. rectangular snip, free-form snip, window snip). Once you've selected the type of screenshot you want to take, use your mouse to select the area of the screen that you want to capture.
Steps:
By following these methods, you will be able to capture whatever you see on your screen, whether it is the whole screen or just a specific area. Remember to use the popular keywords mentioned above to search for more information on this topic.
Post a Comment
If you have any Questions related to the above post. You can comment below in comment box. I will be happy to Answer you !